
video tutorial of L3/L4/L5 electronic hotel lock software
The following video tutorials are the guidelines of L3/L4/L5 electronic hotel lock management software on Windows OS(The operations are similar in this respect for Windows 7,8,10,11.)
[1 port settings]
- Before installation the lock software, we need to setup the communication port.
- Go to the computer which will install the lock software database, to setup the port by the following operation.
- Please fill "3310" in this blank.
- Remind again, this operation is only necessary for the computer which is going to install lock software database, other terminals are not necessary.
[2 Database Installation]
- After setting the port, we now start database install. Double click the file of "MySQLforLock…".
- After installation, 2 icons will be added up on the desktop.
[3 Database Start Up]
- Plug-in the USB dongle before setting.
[4 Client Software Installation]
- Double click Hotellock_L4_STD/LITE_5S_EN.exe(Hotellock_L3_STD/LITE_5S_EN.exe)to install the client software. If user does not have admin right,please right click the icon and select "Run as Admin" to install.
[5 First Time Running]
- Before opening the terminal, we need to setup the connection between terminal and database.
- Input the IP address of the database.
- If the database is installed in this computer, please input this PC's IP address.
- Then test the connection.
- you can double click the icon to enter the lock software.
- Choose the correct card type you're using. If it's MF1 card, please select sector 11 to work with our lock.
- Input the serial code provided by us.
- Please note that each hotel should has its unique serial code. Don't use the same one for 2 different hotels,or else this could lead to potential risks.
[6 Property/Hotel Structure Settings]
- Go to the "Hotel Structure" screen when you open the software for the first time.
- You need to create the rooms in the software.
- l Click "Add Room", then fill in the number of room for each floor.
- If the room number format of the example fits your requirement, click "Add room" to continue.
- All the rooms are created.
[7 Basic Settings]
- After the rooms are created, we turn to start the basic setting of the lock software.
- In this interface, we can input the hotel name, set the maximum number of special card, etc.
- Even change the card type when necessary.
- The default password of admin is blank(NULL).
- Then we go to set the department in the software.
- add the staff for each department.
- In Operator we can define the operation right for the staff we created before.
- There're 4 default characters you can select. Bring the staff here and give him the proper authority.
- There's a standard room type as default in the software. You can add more as necessary.
- That's all for this section.
[8 Program Cards Issuing & Program the Locks]
- To program the lock, we need to issue "Authorized Card", "Installation Card" and "Clock Card".
- We start from the installation card.
- To issue an installation card for one room, select the room and click this button to issue the installation card.
- To issue the installation cards for several rooms, pressing the "Shift" key and click the first room, then click the last room.
- After selecting all the rooms, you may release the Shift key and click "Single room".
- Then put the keycard to the card reader one by one to issue cards.
- To issue the "Installation Cards" for each room of the whole floor.
- After making out the installation card, we turn to issue Authorized card and clock card.
- Go to Special card, you can find the Authorized card and clock card.
- About how to use these cards to program the lock, we have another video to guide you.
[9 Single Room Check-In]
- To issue the guest card for the customer, you can double click the room and fill in the information.
- And click Issue card.
- You can also use your keypad to input the room number, then press Enter.
- In this page, you can move the cursor by up or down direction key.
- And press Enter again to confirm.
- This option can show you the detail information for the room.
[10 Multi Room Check-In]
- We can use multi room check-in function to handle the group check-in case.
- Select Multi room check-in, and double click the rooms to the list on the right side.
- And click Issue card to confirm.
- Place the card to the card reader to issue guest card one by one.
[11 Check Out]
- In the lock software, check out means recycle the guest card.
- If you can't find the guest card and need to check out, you can click "Fast Check out" to make the room to clean status.
- And this room is available for another customer to check-in again.
- Once the new guest card open the lock, the loss guest card will be replaced and become useless.
[12 backup and restore system settings]
- For the Std version software, the operation of backup and restore are under the database.
- Double click the icon and enter the database. The backup and restore buttons are here.
- Type the file name and locate the folder to save the backup file.
- And the restore operation is similar.
[13 Uninstall Client Software ]
[14 Uninstall Database ]
Related key card lock product
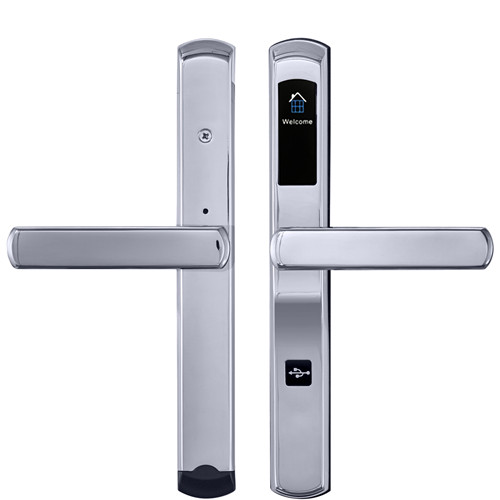
slim SS key card lock
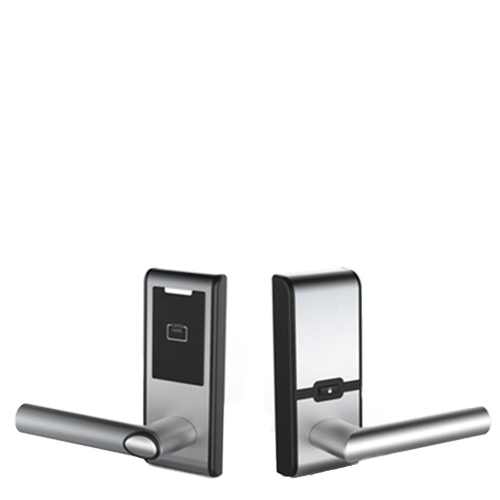
retrofit SS cylindrical lock
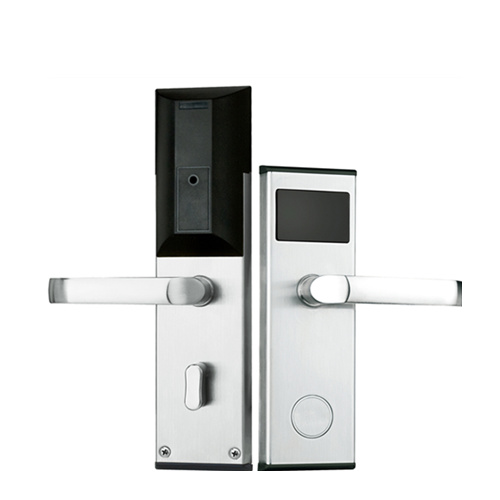
classic durable key card lock
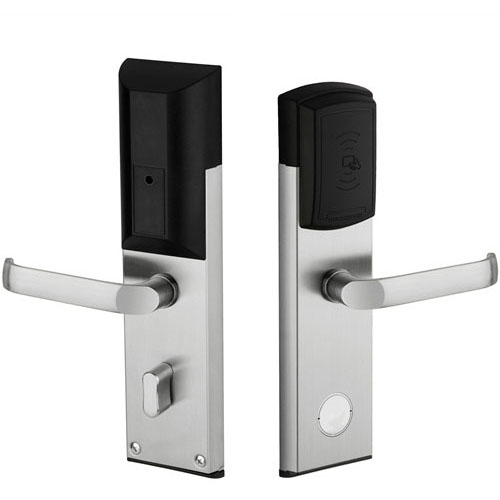
retrofit SS key card lock
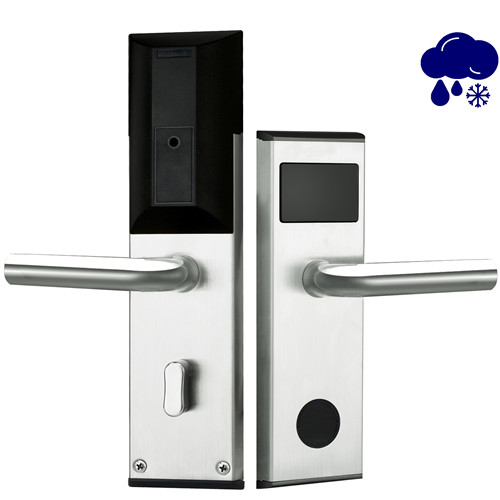
waterproof SS contactless card lock
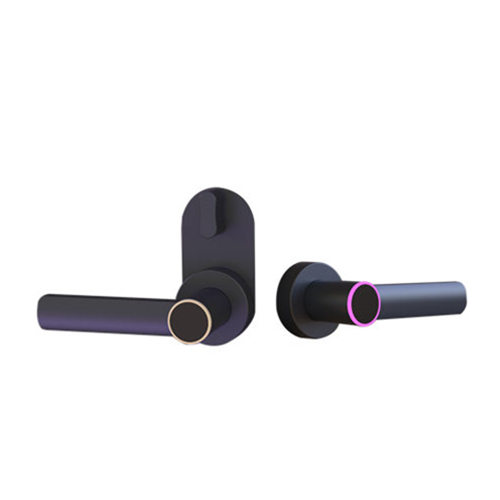
handle-only keycard lock
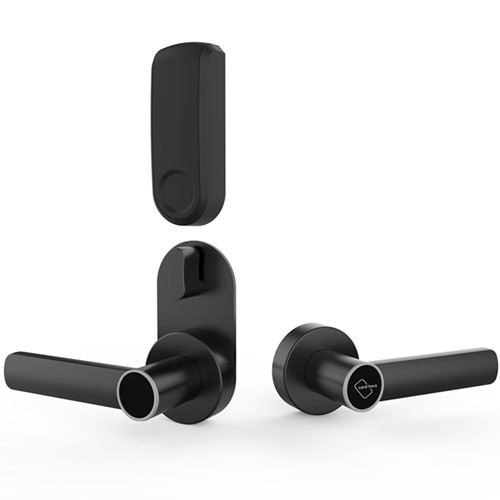
alternative lever-only keycard lock
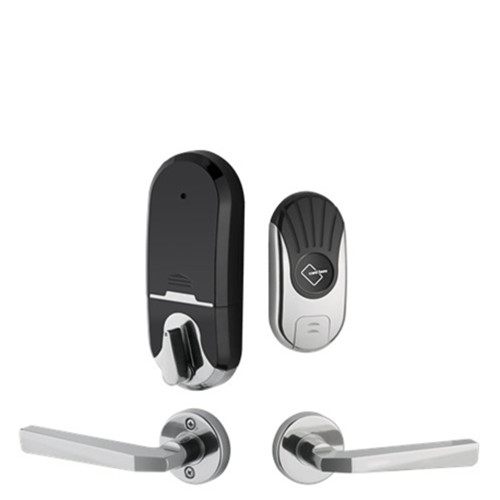
split style hotel card lock
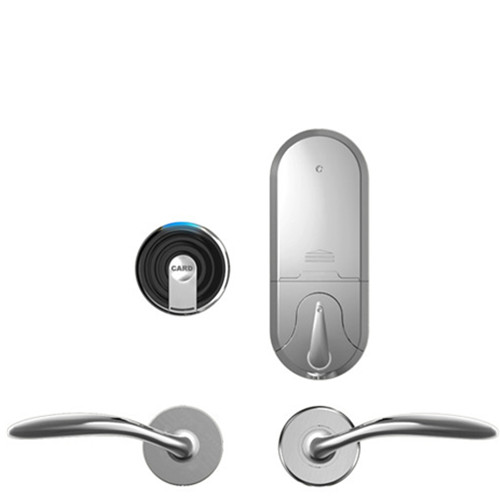
alternative split style card lock
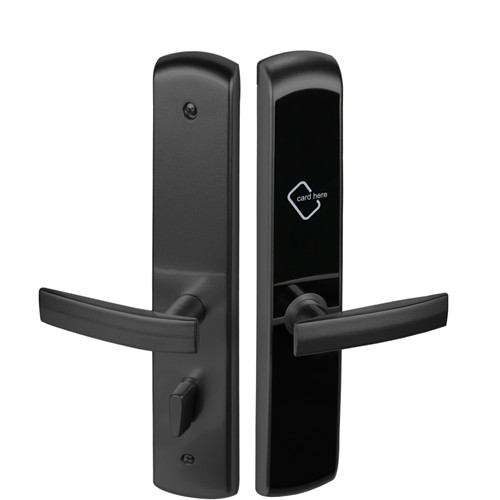
aluminum keycard door lock
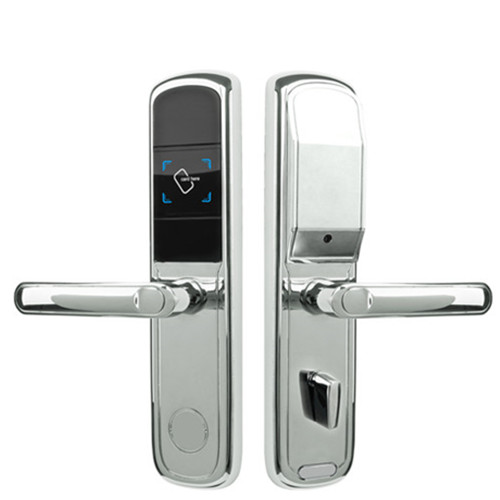
low cost smart lock
-

Skype
-

WhatsApp